Edit 2018-07-15: Updated Script at the bottom:
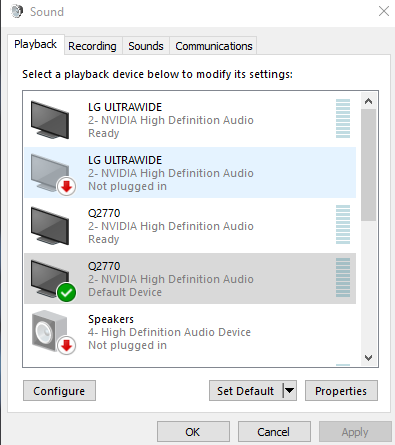
Each time I update my NVIDIA Graphics drivers no matter if it’s via Windows Update or via Geforce Experience or manually (ok, manually I’m able to choose to NOT install the audio driver so a kind of workaround), it’s also reinstalling the NVIDIA Audio Driver so randomly one of my displayport connected monitors will be the new and default audio output rather than my Headphones.
Making it look like this, a long list with monitors (I’ve got 5 connected) and audio playback devices I don’t want to use.

I’m then manually selecting the Headset and making it the default device for Playback and Communication. And most of the times also disabling all the other playback devices by right clicking them. It works but feels a bit annoying.
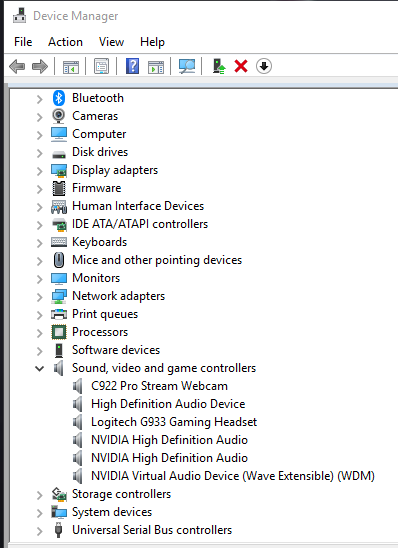
It’s also possible to disable the NVIDIA High Definition Drivers in Device Manager, which is once again manual work.

And next time the Graphics Driver is updated, the audio driver is reinstalled so the devices that were previously disabled are now enabled again.
Luckily, it’s possible to automate the task with Powershell.
|
1 2 3 |
Get-PnpDevice -Class Media | where FriendlyName -like "*NVIDIA High Definition Audio*" | where Status -eq "OK" | ForEach-Object { Disable-PnpDevice -instanceid $_.instanceid -Confirm:$false } |
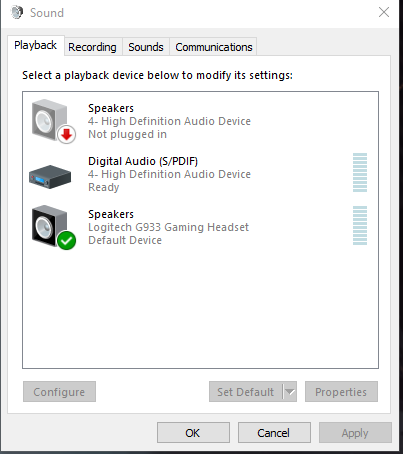
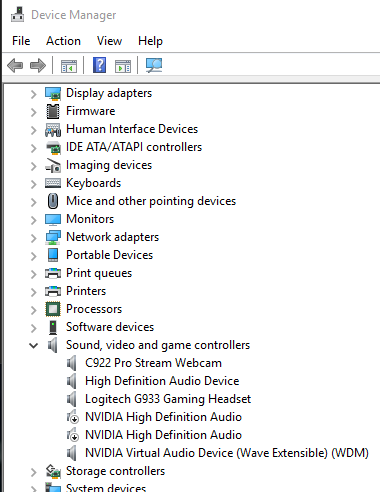
Easy as that, we use Powershell to disable the NVIDIA High Definition Audio driver so the result is like this;


And my headphones are now the default device again.
To take this one step further I’ve also automated the script to be executed automatically at computer startup with the help of a Scheduled Task. So each time the driver is updated and I reboot, the audio settings are back to how I want them to be.
- Save the above Powershell script in a file called “C:\temp\disablenvidiaudio.ps1”
- Download and unpack this file: Disable Nvidia Audio (It’s my Exported Scheduled Task settings).
Important Settings if you want to create the task manually else ignore step 3 and go to step 4. - Optional, manually create the scheduled task.
- run as System (an Admin Account will work too but as I wanted it to be easy for anyone to import it, i choose System).
- Run whether user is logged on or not
- Triggers: At Startup
- Action: Start Program
- program: cmd
- argument: /c powershell.exe -executionpolicy bypass -file C:\temp\disablenvidiaudio.ps1
- Open ‘Task Scheduler’ from Windows Start Menu (search for it if needed).
- Select menu item “Action” and then “Import Task…”
- Select the extracted file from Step 2.
- Modify any settings as you see fit.
- Click OK
- Problem Solved
Edit 2018-07-15
After writing this post I did find a very useful Powershell Module here: https://github.com/frgnca/AudioDeviceCmdlets it gives us some options to work with the Audio Devices, so I’ve modified my disablenvidiaudio.ps1 script to look like this;
|
1 2 3 4 5 6 7 8 9 10 11 12 13 14 15 16 17 18 19 20 21 22 23 24 25 26 27 28 29 30 |
# Need to be run as Administrator (Elevated) Get-PnpDevice -Class Media | where FriendlyName -like "*NVIDIA High Definition Audio*" | where Status -eq "OK" | ForEach-Object { Disable-PnpDevice -instanceid $_.instanceid -Confirm:$false } If (! (Get-Module -Name "AudioDeviceCmdlets" -ListAvailable)) { # The version in Powershell Gallery is currently Broken so need to do a manual download/install # Install-Module -Name AudioDeviceCmdlets -Force -Verbose # get-module -Name "AudioDeviceCmdlets" -ListAvailable | Sort-Object Version | select -last 1 | Import-Module -Verbose $url='https://github.com/frgnca/AudioDeviceCmdlets/releases/download/v3.0/AudioDeviceCmdlets.dll' $location = ($profile | split-path)+ "\Modules\AudioDeviceCmdlets\AudioDeviceCmdlets.dll" New-Item "$($profile | split-path)\Modules\AudioDeviceCmdlets" -Type directory -Force [Net.ServicePointManager]::SecurityProtocol = "tls12, tls11, tls" (New-Object System.Net.WebClient).DownloadFile($url, $location) } If (! (Get-Module -Name "AudioDeviceCmdlets")) { get-module -Name "AudioDeviceCmdlets" -ListAvailable | Sort-Object Version | select -last 1 | Import-Module -Verbose } # Set my "Logitech G933 as Default Playback and Recording Device in Windows" if ( (Get-Module -Name "AudioDeviceCmdlets") ) { Get-AudioDevice -List | where Type -like "Playback" | where name -like "*Logitech G933*" | Set-AudioDevice -Verbose Get-AudioDevice -List | where Type -like "Recording" | where name -like "*Logitech G933*" | Set-AudioDevice -Verbose } |
