Today when I was updating our AzurePack WebSites Servers, I got an error which prevented the upgrade of most of the WebSite Roles like these;
Management Servers, Publishing Servers, Front End Servers and all the Web Workers. Yes, everyone except the Web Sites Controller.
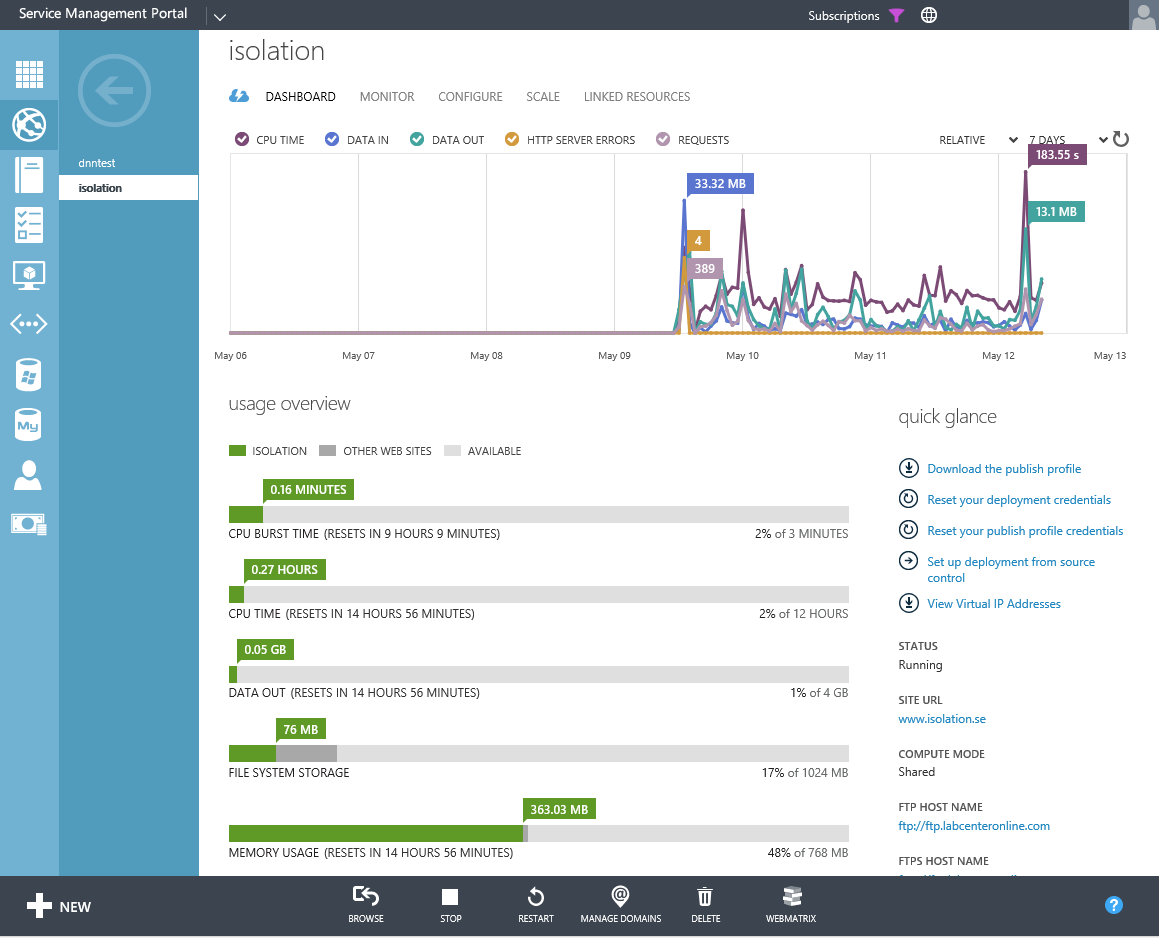
Resulting in some unexpected downtime. Luckily, all that was affected was this blogsite.
The error message I got was;
The WinRM client sent a request to the remote WS-Management service and was notified that the request size exceeded the configured MaxEnvelopeSize quota.
And I could also see that the files being copied to c:\windows\temp (WebFarmAgent.msi) were broken.
I also had an error “Failed to copy role artifacts to agent” in the logfile seen on Windows Azure Pack Websites Controller.
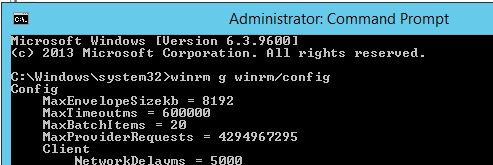
First of all, I ran this command in an Elevated Command prompt on the server hosting the Controller Role;
C:\Windows\system32>winrm g winrm/config
And then the same command on one of the failing servers;
C:\Windows\system32>winrm g winrm/config
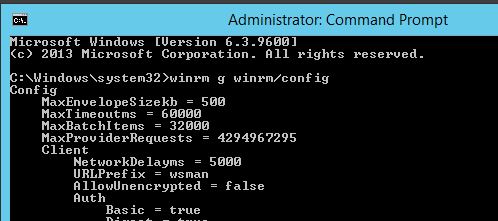
Notice the difference in MaxEnvelopeSizekb between the servers. One of the other servers had MaxEnvelopeSizeKB set to 700.
I don’t know why it’s different between the servers or what has suddenly changed it, my guess it’s some Windows Update patch. Though it’s the same patches being installed on all the servers, and I’ve seen three different values. Wicked.
So by using the same value on all the servers I got the setup to work. And as you can see, this blog site is now also running. YAY!
I chose to set the value to the same as on the Controller Server which is the one trying to run the commands and copy the files to the other servers.
winrm set winrm/config @{MaxEnvelopeSizekb=”8192″}
It will now take 5-60 minutes for all update and repair jobs to complete.
I couldn’t find any Group Policy object to use to set that value as a default value on all AzurePack WebSites servers. So I’ve got to come up with another longterm solution. Maybe doing it with Desire State Configuration (DSC) or via Configuration Manager?